Replacing the wiper cleaner on the Brother GT 541
customer
(3) Insert the new Ink Cartridge securely (be careful with the direction).

<Note>
Confirm the color of ink. Loading a wrong color of ink causes damage to the Print Heads. If you have installed a wrong color of ink, immediately contact Brother Customer Service Hot Line.
(4) If you have replaced the Yellow Ink Cartridge, you need to replace the Wiper Cleaner attached to it. See “6-1-2. Replacing the Wiper Cleaner”.
<Note>
- Do not repeat uninstalling/ installing the Ink Cartridge.
- Dispose of the used Ink Cartridge in compliance with your local regulations.
6-1-2. Replacing the Wiper Cleaner
The Wiper Cleaner is attached to the Yellow Ink Cartridge, and it needs to be replaced when the Yellow Ink Cartridge is replaced. Always clean the Print Head Cap and Wiper Blade when replacing the Wiper Cleaner.
(1) Turn on your printer if it is off.
(2) Press the OK Button to open the Menu Display.

(3) Press the Up/Down Button to select the “Maintenance”, and then press the OK Button.
(4) Press the Up/Down Button to select the “Cap/Wiper Clean”, and then press the OK Button. The following message appears.

(5) Turn off your printer.
(6) Open the Front Cover by unlocking the Cover Locks.

(7) Pull out the Wiper Cleaner Cassette.
<Note>
- Do not tilt the Wiper Cleaner Cassette; the ink may get on your hands or clothing.
- Do not touch the Clearance Sensor (the bar above the Wiper Cleaner Cassette); it may cause a malfunction.

(8) If the ink inside of the Wiper Cleaner Cassette is soiled with ink: Wear gloves and remove the ink with a dry cloth, and then clean with a cloth damped with water.

(9) Push both sides of the Wiper Cleaner Cassette to open it.

(10) Carefully drop off the used Wiper Cleaner in a trash can/bag by turning it upside down.

<Note>
Dispose of the used Wiper Cleaner in compliance with your local regulations
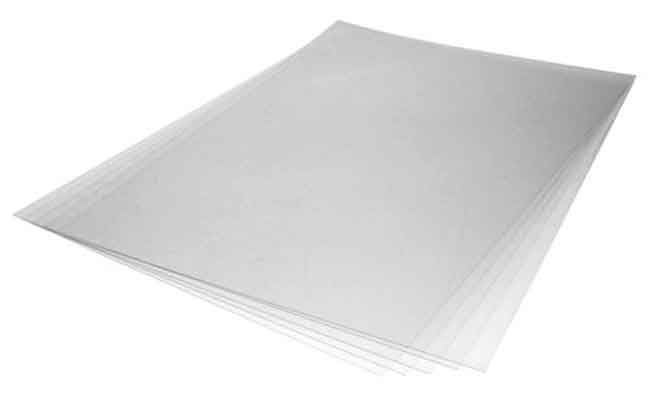
(11) Insert the two projections of the Wiper Cleaner Cassette into the holes on the new Wiper Cleaner.

(12) Close the Wiper Cleaner Cassette. Make sure that the bottom of the Wiper Cleaner is set within the two projections on the Wiper Cleaner Cassette.

(13) Open the Cap Cleaning Kit. It comes with the new Yellow Ink Cartridge. The following items are included.

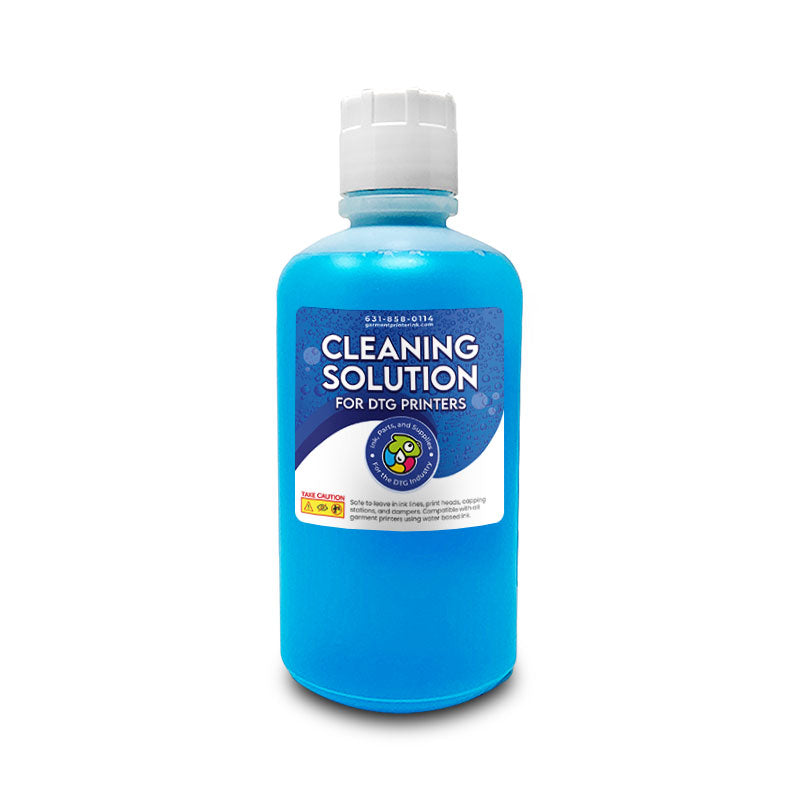
(14) Wear the gloves, and wet both sides of a Clean Applicator with the Wash Liquid.
<Note>
Use only the Wash Liquid included to wet the Clean Applicators; using other liquid will cause damage to the Print Heads.

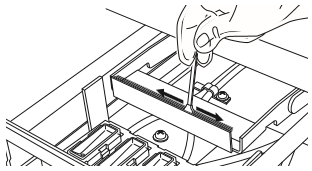
(15) Use the one side of wet Clean Applicator to clean the front side of the Wiper Blade.

(16) Use the other side of the wet Clean Applicator to clean the backside of the Wiper Blade.

(17) Wet other two Clean Applicators and use them to remove ink or dust from the Print Head Caps. Use one side of the Clean Applicator to clean one Print Head Cap.
<Note>
Do not use the dry Clean Applicator; it cannot clean ink or dust. It may damage the Print Head Caps.

(18) Insert the Wiper Cleaner Cassette straight into your printer. <Note> Do not touch the Clearance Sensor (the bar above the Wiper Cleaner Cassette); it may cause a malfunction.

(19) Close the Front Cover, and then turn on your printer.
If your printer turns on without any problem, replacement of the Wiper Cleaner Cassette has been completed.
If there is a problem (abnormal noise or error), turn off your printer, and check if the Wiper Cleaner and the Wiper Cleaner Cassette are correctly installed.
6-1-3. Replacing the Waste Ink Cartridge
When the message "WARNING WASTE INK FULL" is displayed, prepare the new Waste Ink Cartridge, and replace it when the message “ERROR WASTE INK FULL” is displayed.
<Note>
- Do not replace the Waste Ink Cartridge while printing or head cleaning. It may contaminate the inside of your printer, which may cause damages to your printer.
- Be careful not to get ink on your hands or clothing when you handle the Waste Ink Cartridge.
(1) Pull out the Waste Cartridge Tray. The message “ERROR NO WASTE INK TRAY” is displayed.


