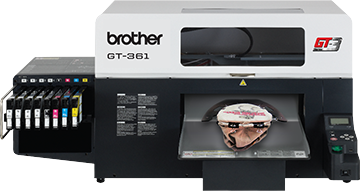
Replacing the Wiper Blade on the Brother GT-3
customer
(1) Turn on the GT-3.
(2) On the control panel, press the Up/Down Button and select maintenance, press okay.

(3) Select "Nozzle Cleaning", press okay.

(4) The platen will move out and in, the caps will drop and the carriage move to the right.
(5) The screen will prompt you to turn the machine off.
(6) Open the front cover.
(7) Push the left operation arm about 5mm (0.2 inches) to the left and pull out the wiper blade as holding its right. (Note: the example shown is for the color wiper)

(8) Do not push the operation arm by force.
(9) Remove the wiper blade by pulling it to the left.

(10) Insert the left projection of the new wiper blade to the slit of the left slit of the left operating arm.
(11) Insert the right projection of the new wiper blade to the slit of the right operation arm by pushing the right operation arm about 5 mm (0.2 inches) to the right.
(12) Take care not to push down the wiper blade and the operation arms by force.
(13) Confirm that both projections of the wiper blade are inserted to the slits of the operation arms.

(14) Turn the GT-3 on.


