Ricoh Ri100 Troubleshooting
customer
Image Problems
Basic Check Points and Specifications
Work Environment: Is there a problem at the printer location?
- Make sure that the printer is level. Place the printer in a location where it will not be subject to shaking or excessive force.
- Make sure the temperature and humidity are within the acceptable ranges: Temperature: 10C to 45C (50F to 113F) - Humidity 5% to 90% rH
Ink Cartridge: Is an old print cartridge being used?
- Print cartridges should be opened before their expiration date and used within six months of being opened. Use a new cartridge.
- To replace all ink inside the print head tank, perform print head flushing 4 times.
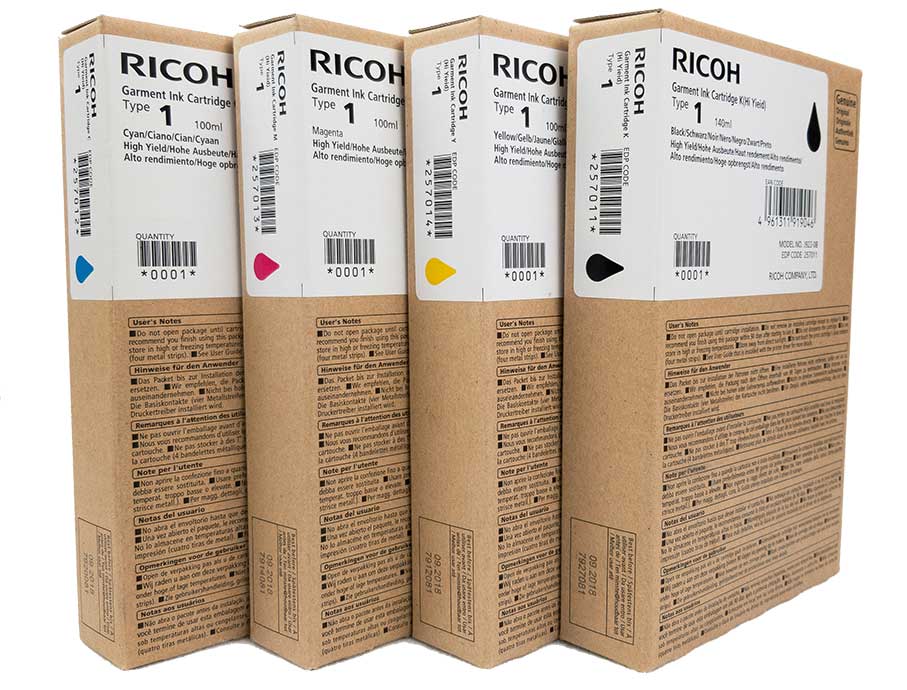
Is a genuine print cartridge being used?
- Using a cartridge other than a genuine print cartridge or using a cartridge refilled with ink will lower the print quality and could cause a breakdown.
- Always use a genuine print cartridge.
Garment: Is the garment too think or too thin?
- Check that the thickness of the garment is within the following range when printing: A4 (standard)/ A5 (option) cassette 0 mm - 4 mm
- Multi-tray (option): 0 mm - 32 mm
- Please note: The values above do not guarantee that printing can be performed. Not that when values, which include sagging or raising from when setting the media, exceed the upper limit, automatic height detection cannot be performed.
Driver Settings: Is the driver setting correct for the cassette size?
- Open the printer driver.
- Make sure that the cassette size setting in the printer is correct.
- Check the settings in the "Print On:" list in the Printer Properties dialog box.
Is the driver setting for the correct garment type?
- Open the printer driver.
- Make sure that the garment type setting in the printer driver is correct.
- Check the settings in the "Print On:" list in the Printer Properties dialog box.
Have the print quality settings been made?
- Open the printer driver.
- In the "Select Print Quality:" box, check and set the "Quality Priority" and "Speed Priority" settings for the job.
Application: Does the same problem occur with other applications?
-
Confirm whether the problem occurs with only one application or with other applications as well.
- If the problem does not occur with another application, use that application to do the print job.
- If the problem occurs with the same file using other applications, try saving the file under a different name and then print out this renamed file.
Firmware: Has the firmware in the machine been updated to the latest version?
- If not, update the firmware to the latest version.
Problems and Solutions:
White Lines / Horizontal Banding

1: Are the nozzles clogged?
Print out the nozzle check pattern and check if any of the nozzles are clogged. If there is a blockage, start the cleaning procedure for the print head(s) in question.
Note: In some cases, this will only solve the problem temporarily. If the problem persists, clean the maintenance unit.
Cleaning sequence to solve the problem:
- Nozzle Check
- Head Cleaning
- Nozzle Check
- Leave the machine 5 to 10 minutes
- Do Steps 2, 3 twice.
- Head Flushing
- Nozzle Check
- Leave the machine 8 hours
- Nozzle Check
2: If none of the above work:
Note: If the operator prints out an image comprised mainly of photos or solid filled areas, horizontal lines may still appear on the printouts after performing the recommended action.
The machine needs to be prepared.
- Ink built-up in the maintenance unit, or maintenance unit failed.
- Vertical encoder wheel dirty or damaged. Clean or replace the vertical encoder wheel.
- Print head failed. Replace the carriage unit.


